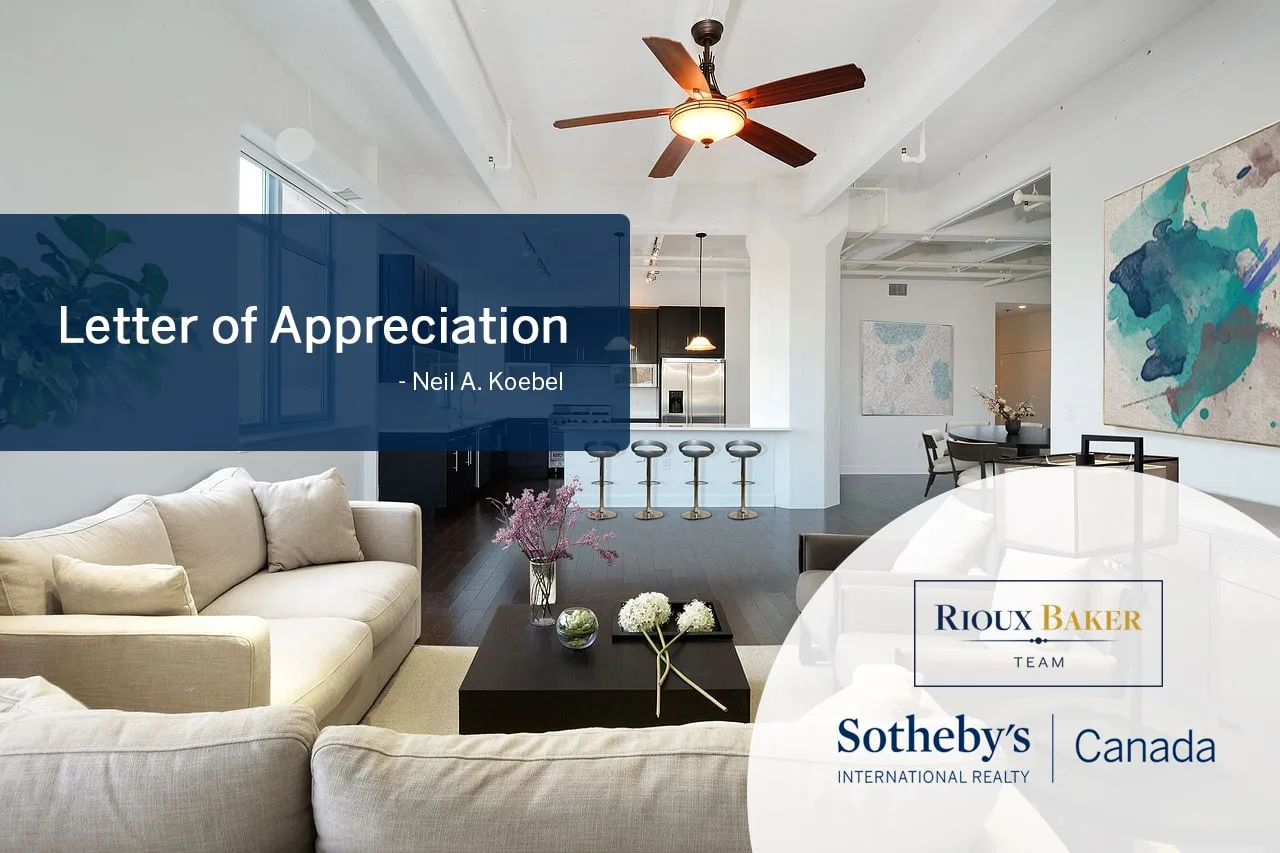
Emma has gone over and above to help me with my home searches over the years. I would heartily recommend her and her agency to anyone searching for a realtor. Fred Promoli2023-10-27We recently purchased a new home and Sherry Rioux was highly recommended to us. We are SO glad we went with her and her team as she is such a professional and leaves no detail overlooked. She helped us every step of the way and we felt very confident in all our decisions and approach to securing an amazing "home of our dreams"!!
 Jennifer Davidson2023-10-22From the day we listed until final closing, our experience with Sherry was very comfortable and efficient. Any questions or concerns were dealt with quickly and emails and calls answered promptly. Selling a beloved property can be daunting, but with Sherry in charge, worries melted away. My husband and I have no hesitation recommending Sherry as a listing agent.
 Sharon Cleminson2023-10-17Craig Davies provided me with excellent knowledge of the Collingwood area, top notch service along with professionalism!!
 nancy harley2023-10-10My husband and I bought our first commercial property with the help of the Rioux Baker Team. They were exceptional! The quality of care, service, and customer satisfaction was amazing. I highly recommend them.
 Leah Van Dolder2023-10-04Emma Baker rocks as a realtor! She is a kind, patient, knowledgeable, charismatic, dedicated woman! She made us feel so comfortable and made us laugh all while doing amazing work to market and sell our place. We couldn’t have asked for a better realtor. Thanks for everything Emma!
 Jenn Thompson2023-08-10Excellent service, crisp knowledge of the area real estate market, entirely trustworthy. Sherry Rioux went the extra mile for us.
 michelle Keilhauer2023-07-12Outstanding professionals-highly recommend
 Patrice Burke2023-06-19Craig Davies was amazing from start to finish. His positive attitude and professionalism made the process of selling the home easy and I would happily use him again.
 Michael James2023-06-19